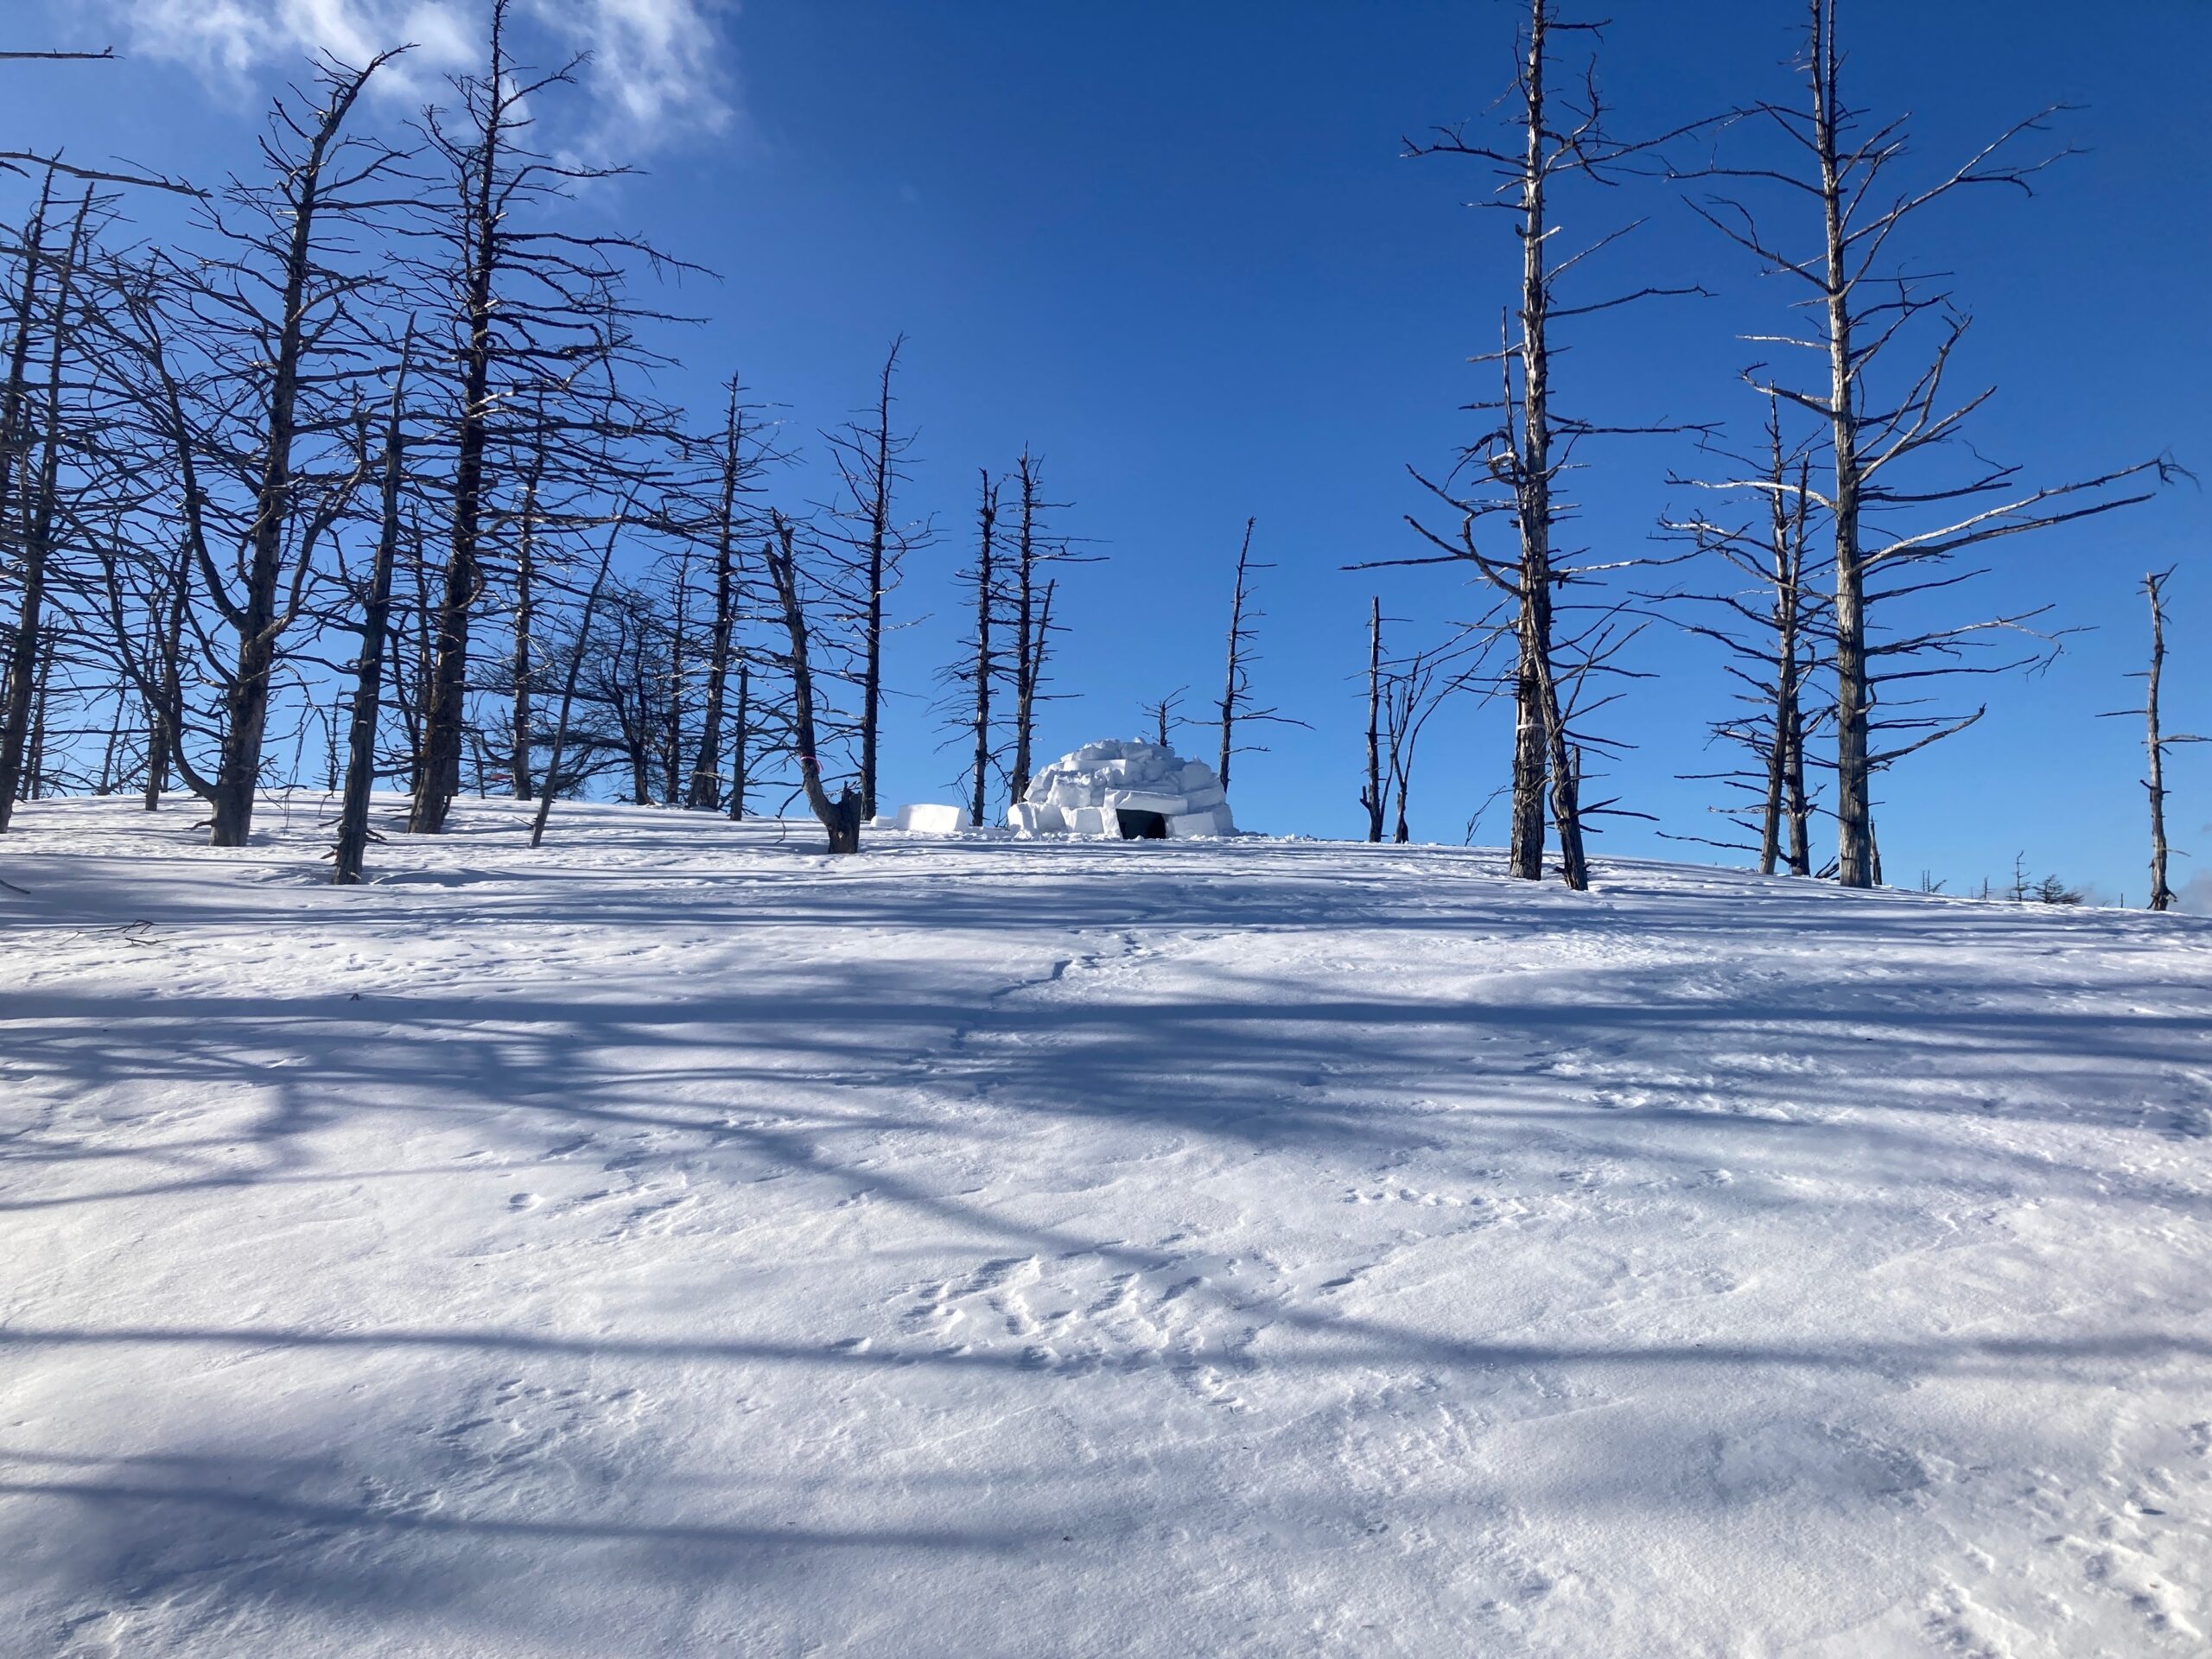
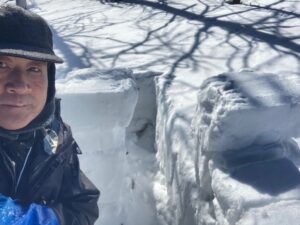
今回は積雪60cm
先週はイグルー山行ニ連発。うちひとつは松本市の東山で標高2000m弱の山です。この山域は、積雪が多くはない上に寒冷地なので、新雪が溶ける機会が無く、上から重さで押される機会もないまま時間が経った感じです。積雪は多いところで60cmほどです。でも十分作れます。
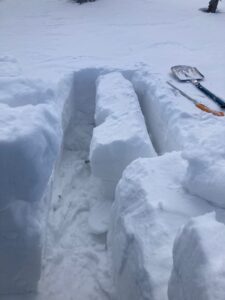
いつも講習会では1.5m×1.5mの湯船の足元だけからブロックを切り出して積んでいきますが、これは積雪が十分あって使える層の厚さが30cm×2〜3段の場所です。今回は積雪60cmでしたが、表面10cmはサラサラ層、下部10cmは地面の熱でザラメ化して笹や小枝が入っていてブロックにはならない層でしたから中間部の厚さ40cmがブロックに使えました。
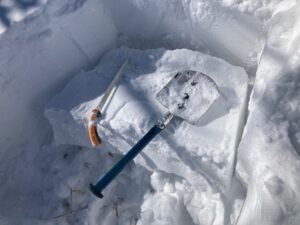
ノコギリは刃が40cmです。ちょうど刃の後ろ部分の層が「かるかた雪」です。ここだけを使います。The saw blade is 40 cm long. The layer just behind the blade is the ideal “karukata snow.” We only use this part.
少雪地・寒冷地でのイグルーは外取り式で
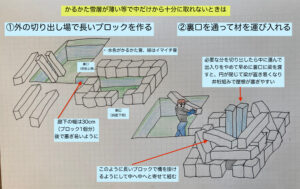
一人用1.5×1.5だと、下の積雪が十分でない場合下一段で取り終わるので、上一段積んだらもう中からはブロックを取れません。イグルーの湯船の外に出入自由な廊下を伸ばして、ブロック供給場所を近接させて作ります。廊下を伸ばしながらブロックを取ります。そこが斜面ならば傾斜の上の方に供給地を作るほうが、切ったブロックを持ち運ぶのに楽です。たいてい入口は斜面下側に作るので、入口とは別に裏口を作るのが良いです。
また下が浅いということは、雪面下で拡げる余裕があまり無いので、あらかじめ1.5m×1.7〜1.8mくらいに作っておかないと足が伸ばせなくなります。
良い層さえあれば、壁や天井に囲まれていないぶん、外の作業は非常にやりやすく、長くて丈夫なブロックがばんばん切り出せます。まとめて切って、運び込んで置いて、最後にまとめて屋根を組み立てるのもおすすめです。裏の「勝手口」は、大きいブロックさえあればあっという間に塞げます。
湯船から下一段切り出して、もう笹が出てきた。上一段目しかできていないので、切り出し場を求めて「廊下」を作り始めます。After cutting the first layer of blocks from the “bathtub” area, bamboo grass started appearing. With only the first layer completed, I needed another source for blocks, so I began extending a “hallway” to create a new cutting area.
イグルー側から見た廊下の先の「ブロック切り出し場」これまではサイコロ状を切り出し続け、最初の長細いブロックを切って転がしたところ。View from the igloo: The end of the hallway where blocks are cut. So far, I’ve been cutting cube-shaped blocks. Here, the first long block has been cut and rolled.
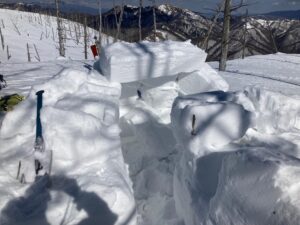
「切り出し場」からイグルーを「廊下」越しに見たところ。廊下を通って長いブロックを屋根として積む。View from the cutting area: Looking back at the igloo across the hallway. Long blocks are transported through the hallway and stacked as the roof.
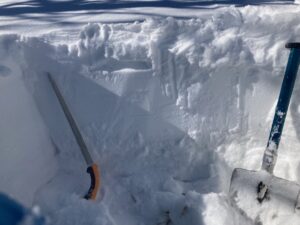
手を使ってやさしく手前に転がした。スコップでやってはいけない。両脇がハの字に切れている。これを優しく立てて、ノコで縦切りRolling the block: Using hands to gently roll it forward. Never use a shovel for this step. The sides of the block are cut in a V-shape. Carefully stand it upright and cut it vertically with the saw.
おさらいです。大きな長いブロックの切り方
1 確実にノコで切れ目を合わせ、切り離したうえで
2 脇をハの字に切って、手前側に転がすように倒す。ショベルは指をいれる隙間に拡げるために使う。ショベルで力を使うとブロックが壊れる。必ず手で転がす。
3 慎重に立てる。重いので腰を落として体を寄せて慎重に
4 ノコで縦割りにする。切った時に倒れないように左手で両ブロックを抑える。
イグルー作りは12月〜5月の時期に応じて、積雪状況に応じて、工夫がいろいろ変わります。奥が深いですね。
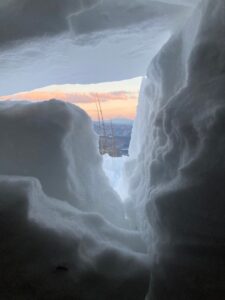
窓はもちろん富士山側にして、最後まで夕景を楽しむ。日が暮れたらサムいから、この隙間を埋めておしまい。Of course, the window faces Mount Fuji, so I can enjoy the sunset until the very end. Once the sun sets, it gets cold, so I’ll fill in this gap and call it a day.
This Time, the Snow Depth Was 60cm
Last week, I had two consecutive igloo expeditions. One of them was in the Higashiyama area of Matsumoto City, on a mountain with an altitude of just under 2000 meters. This region does not have heavy snowfall, and since it is a cold area, the fresh snow never gets a chance to melt. Over time, it also doesn’t get compacted by the weight of more snow from above. The deepest snow I found was about 60 cm. However, that was still enough to build an igloo.
In our usual training sessions, we cut blocks only from the foot area of a 1.5m × 1.5m “bathtub” space and stack them. This method works when there is sufficient snow depth, with a usable snow layer of 30 cm stacked in two or three layers.
This time, the snow depth was 60 cm, but the top 10 cm was a loose powder layer, and the bottom 10 cm had become granular due to ground heat, mixed with bamboo grass and small twigs, making it unsuitable for blocks. That left a 40 cm thick middle layer that was usable for cutting blocks.
External Block-Cutting Method for Igloos in Low-Snow and Cold-Snow Areas
For a one-person 1.5m × 1.5m igloo, if the snow depth is insufficient, the first layer of blocks will be exhausted quickly, and after stacking the second layer, there will be no way to cut more blocks from inside.
To solve this, we extend a hallway outside the “bathtub” area of the igloo, allowing free movement in and out and placing the block supply point nearby. The blocks are cut as we extend the hallway. If the location is on a slope, it’s easier to transport the cut blocks if the supply area is placed uphill. Since the entrance is usually made on the lower slope side, it’s a good idea to create a separate back entrance.
Additionally, when the snow depth is shallow, there isn’t much room to expand below the snow surface. To ensure enough legroom, the igloo should be built slightly larger in advance, around 1.5m × 1.7–1.8m.
As long as the snow layer is good, working outside is much easier since there are no walls or ceilings to restrict movement. Long and sturdy blocks can be cut one after another. A recommended approach is to cut and transport multiple blocks in one go, place them in position, and then assemble the roof all at once at the end. The back “service entrance” can be quickly sealed with just a few large blocks.
Review: How to Cut Large, Long Blocks
- Ensure the saw cuts align properly and fully separate the block.
- Cut the sides in a V-shape, then tilt the block forward to roll it out.
- A shovel is only used to create space for inserting fingers.
- Using force with a shovel can break the block. Always roll it by hand.
- Stand it up carefully.
- Since it is heavy, lower your stance and bring your body close for control.
- Cut it vertically with the saw.
- Hold both sides with your left hand to prevent it from falling after the cut.
Building igloos requires different techniques depending on the season (December to May) and the snow conditions. There’s always something new to learn—it’s a deep and fascinating process.

コメント